

Having your development environment match production helps ensure that a feature works the same in both contexts. An example of when local SSL is beneficial is whenever you are dealing with hardware specific permissions such as a webcam or microphone. This tutorial is specifically for Debian based Linux on the lvh.me domain for Google Chrome but it could also be used in other contexts.
Before we go further, I’d first like to give thanks to the following article Add Self-Signed SSL To Google Chrome on Ubuntu 16.04. It helped me to figure out how to enable local SSL. The following tutorial differs from the above in a few key ways:
- It specifically details how to run SSL Sockets with Puma on Ruby on Rails
- It doesn’t require Nginx to be installed
- It describes how to configure the lvh.me domain for a self-signed certificate
Generating a Self-Signed Certificate
First let’s create a new working directory for your current project
cd project
mkdir .ssl
What is a self-signed certificate
In cryptography and computer security, a self-signed certificate is an identity certificate that is signed by the same entity whose identity it certifies.
- Wikipedia
Now Ubuntu ships with an openssl configuration file which we’ll use to help us generate a self-signed certificate.
Let’s find our openssl.cnf file, copy it, and modify it to include our specific local domain. We create a copy to keep the original intact and also to allow us to add *.lvh.me as an alternative internal domain name.
cp /etc/ssl/openssl.cnf /project/.ssl

# Begin editing the copy at /project/.ssl/openssl.cnf
# Add the following v3_ca extension to the end of the [ v3_req ] section

[ v3_req ]
# many other settings
x509_extensions = v3_ca

# Add to end of [ v3_ca ] section the alt_names for internal domains we are planning on using

[v3_ca]
# more settings
subjectAltName = @alt_names
[alt_names]
DNS.1 = *.lvh.me
DNS.2 = lvh.me
Now we can run the openssl command for generating the certificate for our project. I’ve named the .key and .crt files to correspond to the lvh_me domain but really they only need to be named something you’ll remember.
Note When running the command below it will ask you a series of questions. Most can be skipped by pressing enter. When asked for the FQDN you’ll need to specify *.lvh.me. This tells the certificate what domain or in the case above wildcard subdomains to be valid for.
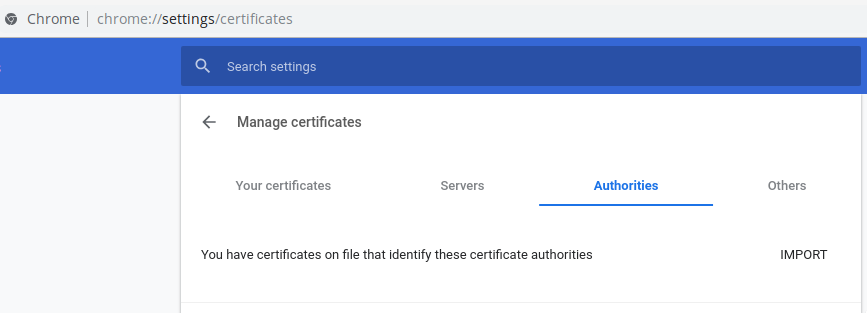
Note You may also want to use a different authority name than the default org-Internet Widgits Pty Ltd in case it already exists. You can check to see if a certificate authority name already exists by navigating to chrome://settings/certificates and checking the Authorities tab.
Here’s the command we need to run:
openssl req -x509 -nodes -days 365 -newkey rsa:2048 -keyout lvh_me.key -out lvh_me.crt -config /project/.ssl/openssl.cnfYeah, that’s a lot of information. Let’s break it down a bit from reading the manual and by running man openssl.
Source: https://www.openssl.org/docs/man1.0.2/
- req - "The req command primarily creates and processes certificate requests in PKCS#10 format. It can additionally create self signed certificates for use as root CAs for example."
- -nodes - "If this option is specified then if a private key is created it will not be encrypted."
- -x509 - "This option outputs a self signed certificate instead of a certificate request."
- -days 365 - "When the -x509 option is being used this specifies the number of days to certify the certificate for. The default is 30 days."
- -newkey arg - "This option creates a new certificate request and a new private key."
- -keyout filename - "This gives the filename to write the newly created private key to. If this option is not specified then the filename present in the configuration file is used."
- -out filename - "This specifies the output filename to write to or standard output by default."
- -config filename - "This allows an alternative configuration file to be specified, this overrides the compile time filename or any specified in the OPENSSL_CONF environment variable."
Configure Puma for SSL Sockets
Segmentation fault?
Use puma 3.11.4
While using puma locally I noticed several segmentation faults on 3.10.0. In fact these occur all the way up to 3.11.3. I suggest using the current latest 3.11.4 as it appears to work as expected with SSL.
Puma is a powerful HTTP server for Ruby. It can be bound to specific ports, tcp, and sockets. For our purposes we’re going to use Puma’s SSL sockets. For more details check out the documentation here
The following command will instruct puma to use SSL sockets with our currently untrusted certificate. Don’t worry we’ll change this in the next section.
Here’s the command we want to use:
# Format
# key - Private Certificate Key
# cert - Signed Certificate
rails server -b 'ssl://127.0.0.1:3000?key=/path/to/project/.ssl/lvh_me.key&cert=/path/to/project/.ssl/lvh_me.crt'
Once you run it you should see the following logs appear in your terminal to let you know that puma is running the proper command.
=> Booting Puma
=> Rails 5.0.7 application starting in development on http://ssl://127.0.0.1:3000?key=/path/to/project/.ssl/lvh_me.key&cert=/path/to/project/.ssl/lvh_me.crt:3000
* Listening on ssl://127.0.0.1:3000?key=/path/to/project/.ssl/lvh_me.key&cert=/path/to/project/.ssl/lvh_me.crt
Optional: Performance Tip
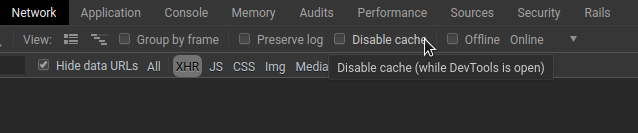
Running SSL in the above format can be slow at times to load assets. Because of this I recommend that you leave the “Disable cache” option within Chrome’s network inspector unchecked. This will ensure that you only need to load an asset once instead of every request.
Optional: Force all requests to be HTTPS
Rails has a built-in configuration option that ensures that all incoming requests are from HTTPS. We can enable this by adding the following configuration line to our /config/environments/development.rb file.
config.force_ssl = trueNavigating to http://dev.lvh.me will now redirect you to https://dev.lvh.me. Neat!
Trust certificate in Google Chrome
Now that we’ve generated a valid certificate we need to let Chrome know to use and trust it. For this we’ll need the certutil. This comes with libnss3-tools package.
sudo apt install libnss3-toolsNext navigate to your site (mine was https://dev.lvh.me).
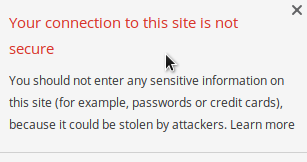
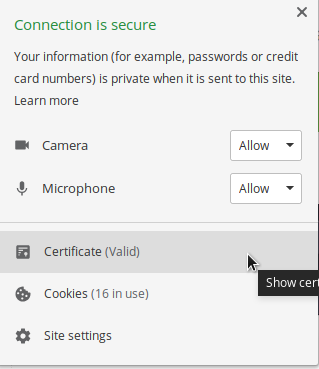
In the browser bar there is a lock icon that indicates that https isn’t validated. Click on it and select Certificate (invalid).
At this point a pop-up will display showing the current certificate. Click the Details tab.
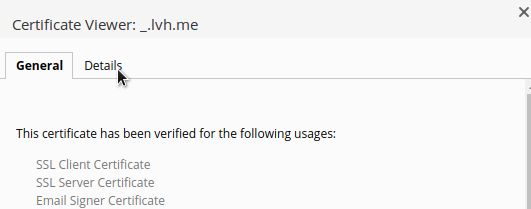
On the details tab click the button Export… in the lower right side of the pop-up. You’ll see a file saving prompt. I saved mine within the above .ssl directory that we created for our project as _.lvh.me. The underscore just specifies that it is a wildcard domain (because * isn’t a valid filename character).
Now we can import the certificate into Chrome’s trusted authorities with the following command:
certutil -d sql:$HOME/.pki/nssdb -A -t "P,," -n /project/.ssl/_.lvh.me -i /project/.ssl/_.lvh.meAt this point you may need to restart your Rails server. Once done you should have a valid certificate and a secure connection.
There you have it. Locally configured SSL for the lvh.me domain.
Know of any SSL tricks for local development? Used dnsmasq locally? How about Nginx? Is a self-signed certificate for lvh.me a bad idea? Tell me about it below in the comments.
Join the conversation